A & C Driving School
Engine Checks
Weekly Checks
It is recommended that you check your engine fluid levels on a weekly basis. Wait until the engine has cooled down and your car is on a level surface, otherwise you may get an incorrect reading.
Checking the Oil level in the engine
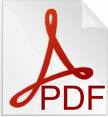
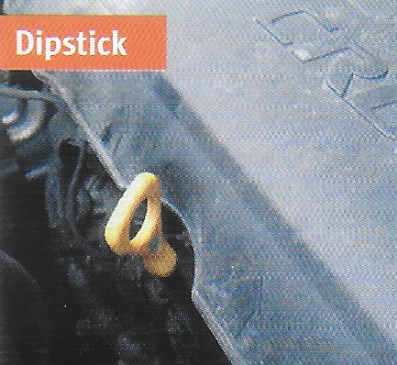
1) Locate the Dip Stick and pull it out. (This may be covered in oil if the vehicle has been driven recently)
2) With a clean rag wipe the Dip Stick clean.
3) Put the Dip Stick back into the same place you removed it from and pull it out again.
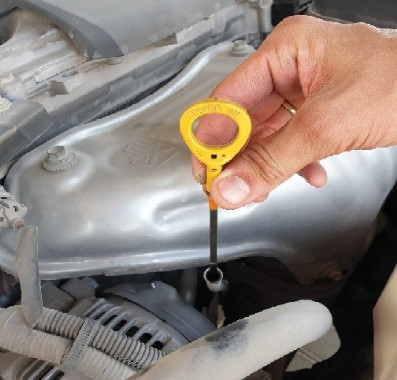
4) Look at the bottom of the Dip Stick and you should see a fresh mark of where the oil level is. It should show somewhere between the Minimum and the Maximum marking levels.
5) If the oil level is below the minimum mark or is not showing on the dipstick, more oil will be needed to the engine.
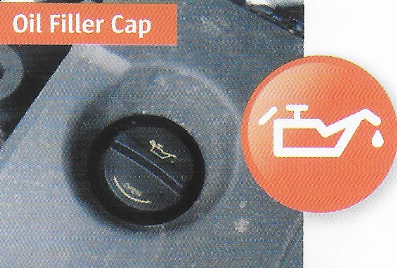
Adding engine oil to the engine
1) Locate the Engine Oil Cap (usually located on the top of the engine)
2) Open the Oil Cap and using the recommended oil for your vehicle pour the oil into the engine in small quantities at a time.
3) At regular intervals let the oil settle in the engine and using the Dip Stick check the Oil level.
4) If you are unsure what oil you should use or any other questions relating to your engine talk to a qualified mechanic.
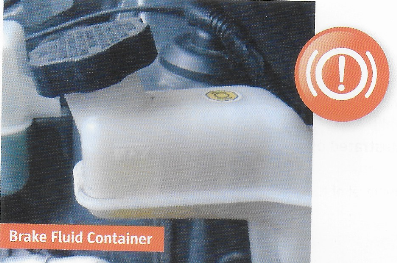
Checking the Brake Fluid level
1) Locate the brake fluid container (usually located on the bulkhead at the rear of the engine compartment.
2) Look at the side of the brake fluid container for Minimum and Maximum markings.
3) The fluid level should be in between these markings.
4) If the brake fluid is below the minimum marking, it could mean that there is a leak in the braking system and your brake pedal may feel spongey when pressed.
5) If this is the case Stop driving the vehicle and have a qualified mechanic check it over.
6) the brake fluid level will fall below the maximum mark naturally as the brakes wear down.
7) To prevent getting air into the braking system, Brak fluid as recommended by the manufacturer will need to be added.
8) Unscrew the cap of the brake fluid container and pour in the new brake fluid until it reaches the maximum marking.
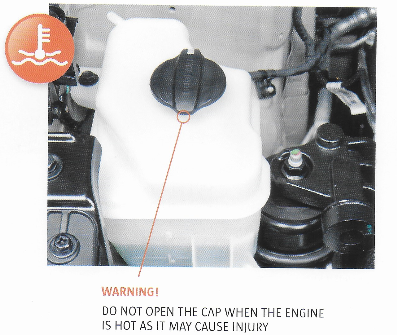
Checking the Coolant / Antifreeze level
1) Locate the Coolant container (usually located at the side or in front of the engine).
2) On the side of this container you will be able to see a Minimum mark and a Maximum mark.
3) Ensure the fluid level is somewhere between these marks.
4) WARNING: Never open this container while the engine is hot as the fluid inside will be at boiling point and could cause serious injury.
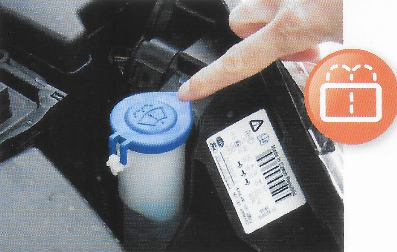
Checking the Window Washer Fluid
1) Look for the window washer container.
2) The fluid inside this container gets used up when you wash the windows while driving.
3) If when you activate the window washer from inside the car using the wiper lever and you find there is no spray coming out onto the window, you will need to top up this fluid.
4) Open the washer cap and pour in window washer fluid or water
5) There is no Minimum or Maximum on this container so it can be filled up.
6) This fluid needs to be checked regularly.
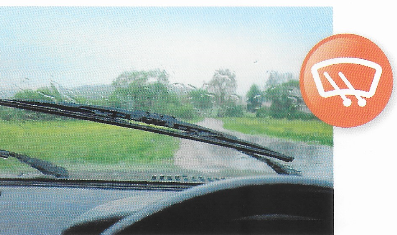
Check the Wiper Blades
1) Check the wiper blades for wear or tears.
2) If when you activate the wipers they jump or make screechy noises or leave streaks across the window, the wiper blades may need to be replaced.
Checking the Power Assisted Steering Fluid
1) There are two types of Power Assisted Steering.
2) There can be Hydraulic fluid or an Electric motor on the Steering Column
3) If your car has Hydraulic Power Assisted Steering, Locate the container marked with POWER STEERING FLUID.
4) On the side of this container you will find Minimum and Maximum marks.
5) The fluid level should be between these two marks.
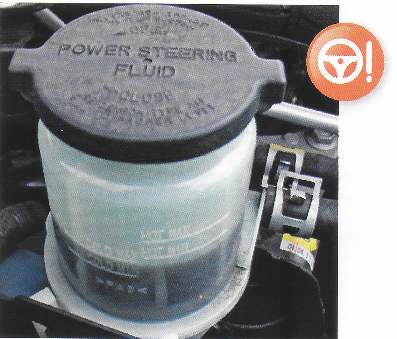
Click here for a Printable version